

Ingredients:
For the sponge:
300g unsalted butter, softened
300g caster sugar
140g soft light brown sugar
3 eggs
100g cocoa powder
160ml buttermilk
1 tsp vanilla essence
33g plain flour
2 tsp baking powder
1 tsp bicarbonate of soda
½ tsp salt
For the salted caramel:
200g caster sugar
2 tbsp golden syrup
120ml double cream
60ml soured cream
1 tsp fine sea salt
For the frosting:
200g caster sugar
2 tbsp golden syrup
360ml double cream
450g dark chocolate (I used milk chocolate as it was all that was in the house, but the result was excessively sickly. Dark chocolate would undoubtedly have given the frosting a slight bitter edge and improved the taste of the overall cake: I would not recommend using milk chocolate!)
Sea salt flakes and chopped chocolate, for sprinkling

Three, 20cm (8in) diameter sandwich tins.
Method:
First you need to make the salted caramel. In a small saucepan, bring the sugar and golden syrup to the boil with 60ml of water. Allow the mixture to boil for about 10 minutes during which it should become syrupy and a rich caramel colour. Put the double cream, soured cream and salt in a separate pan and bring it to the boil, then remove from the heat – the salt should have dissolved. When the sugar syrup is ready, remove it from the heat and carefully add to the hot cream. BE CAREFUL – it will bubble up as the cream is added, but don’t panic as I did! It will quickly smooth out, becoming a creamier golden colour. Pour this into a small bowl and set aside while you make the frosting.

In another small saucepan, bring the caster sugar and golden syrup to the boil with 60ml of water, the same way as before. In a separate saucepan bring the double cream to the boil then add to the caramel. It will bubble up again, but will calm down quickly. Set aside to cool slightly in a bowl. Once cooled, add the chopped chocolate, stirring constantly as the chocolate melts. Using an electric mixer, mix the frosting for about 10 minutes or until the bottom of the bowl feels cool. Add the butter to the chocolate caramel frosting and whisk together until the mixture is light and looks whipped. Place the frosting in the fridge to cool for 40-50 minutes while you make the sponge.


Preheat the oven to 170 degrees Celsius (325 degrees Fahrenheit), Gas Mark 3, and line the sandwich tins with baking parchment.
Using an electric mixer, cream the butter and both types of sugar together until light and fluffy. Add the eggs one at a time, mixing well. In a jug, stir together the cocoa powder, buttermilk and vanilla essence with 60ml of water to form a thick paste. Sift together the remaining sponge ingredients, and then add these to the creamed butter and sugar, alternating with the cocoa paste. Mix until all ingredients are incorporated.


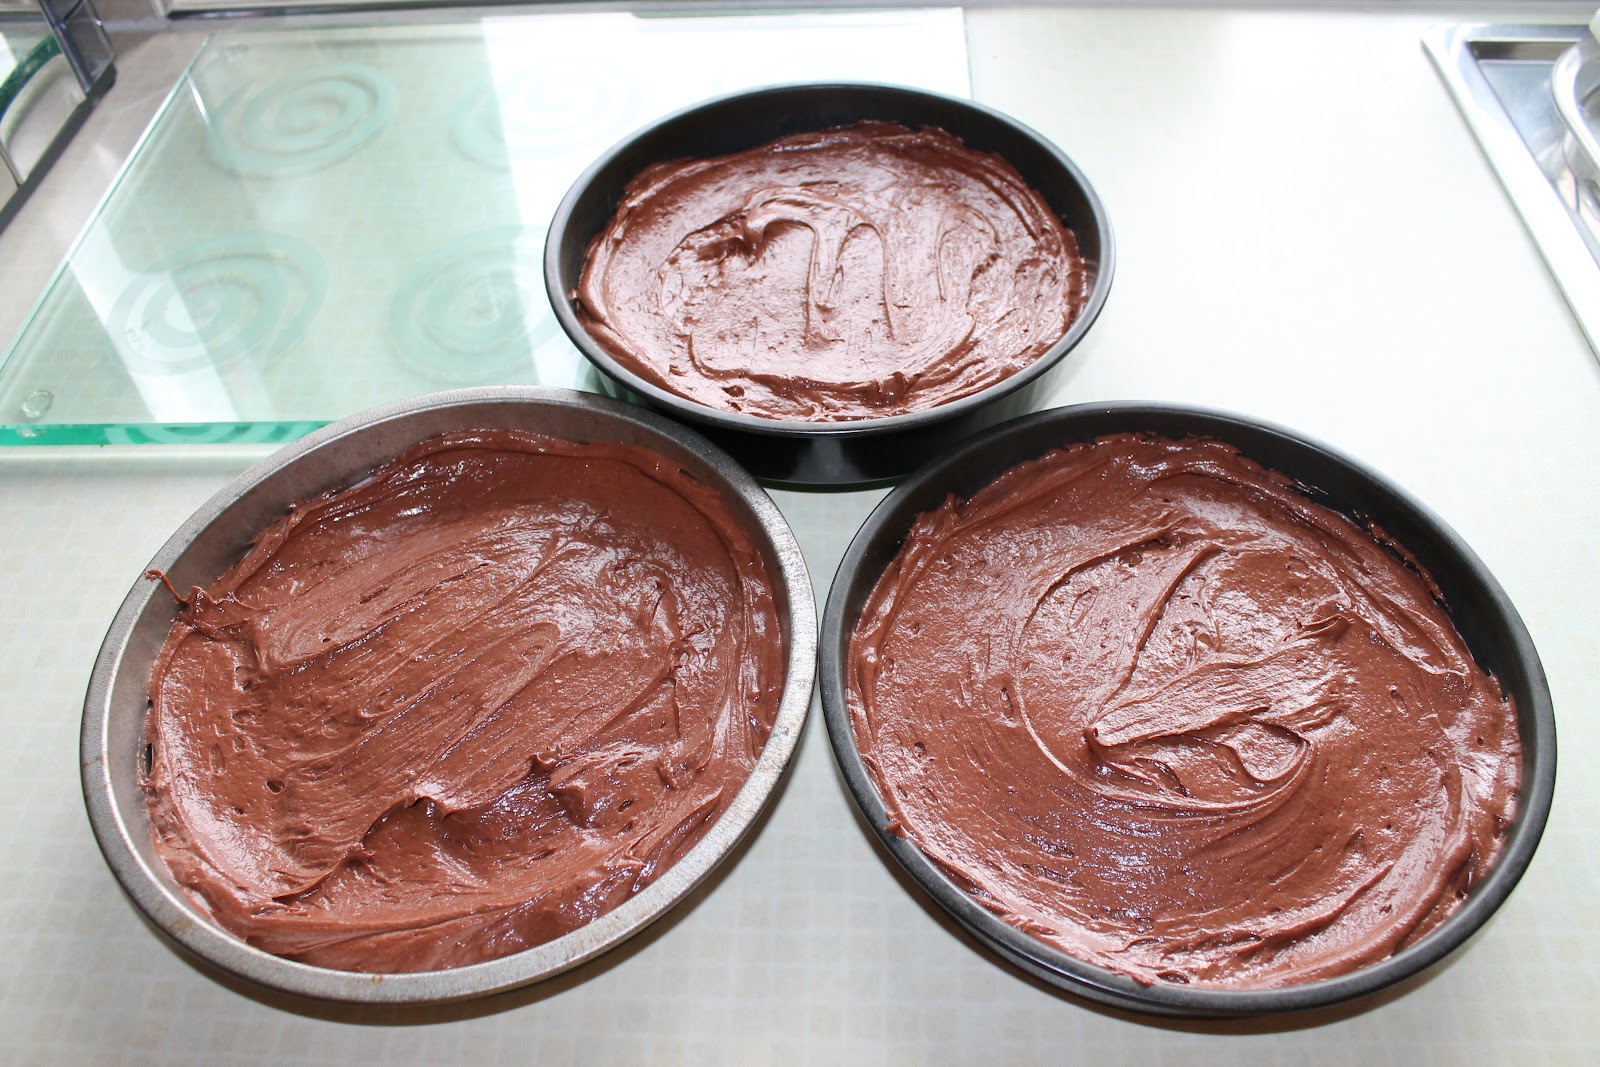
Divide the batter evenly between the 3 cake tins and bake for approximately 25 minutes or until the top of each sponge feels springy to the touch. Allow them to cool slightly before turning out onto a wire rack to cool completely. The sponges MUST be completely cool before you can even begin to start frosting.


Et voila: you have a massive Sweet and Salty Cake!

Make sure it’s kept in a cool place or the fridge, as after about 10 minutes of sitting on the plate in the kitchen the frosting began to melt down the sides of the cake, and it looked a little wonky. If it’s left in the fridge, the cake takes on the consistency of a chocolate fudge cake, rather than that of a light and fluffy chocolate cake, which works really, really well. As mentioned before, the frosting was excessively sickly: DO NOT USE MILK CHOCOLATE! The use of milk chocolate was a mistake I will not be making again!
Good luck if you make this: it takes a lot of faffing and a downright silly amount of saucepans, but if you can cope with that then it’s worth it. Let me know if you attempt it – I’d love to hear about other baking exploits!
No comments:
Post a Comment